DiY Advent Calendar
- Raising My Knight
- Dec 13, 2019
- 2 min read


Every year I add a new tradition to our celebration to Christmas.
Last year we started our tradition of making homemade sweets, Elf on the shelf and gingerbread house.
This year LiL Knight is 5 years old. He has been learning about Jesus through his religion studies at school. I thought it would be an ideal opportunity to explore the nativity with him through an advent calendar.
I went for a simple approach and quiet liked the way it turned out. Read on to see the step.
Materials required:
White cloth
Green fleece
Black cloth
Sewing thread/fabric glue
Pins
Chalk
Method:
Step one
Draw a template for your tree. I used a chart paper.

Step two

Draw a template for the bottom advent numbers. Place this on a white fabric to get a rough idea of the length.
I found this lovely cotton table cloth at IKEA’s ‘as is’ section for 30aed.
Step three:

Place your template on green fleece and cut it.
Do the same for the bottom of the tree and the black advent numbers.
I found this bright green at DIASO store for 7aed.
Step four:

Stitch the green and brown fleece to your fabric.
I hand stitched it worked well for me in between nap times and breastfeeding my LiL bub.
Step five:

It’s time to add the black pockets. I cut them according to my template and stitched one at a time leaving a space in between each line.
Step six:
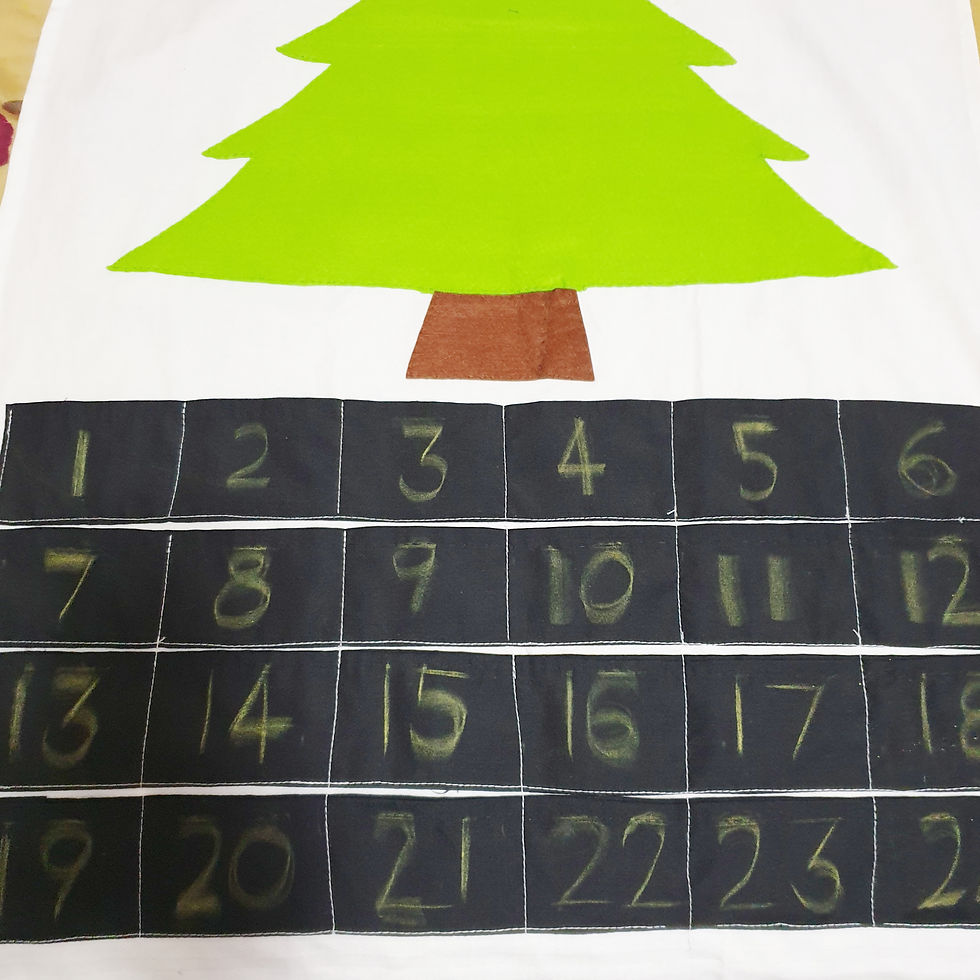
Use a chalk and draft numbers on the black cloth.
I later used fabric paint and painted over my draft. Left it to dry overnight.
Step seven:
Create a look on the top by folding the end down. You can add a wooden dowel and loop a rope at the end.
I added 24 white buttons on the tree and found cute little bulb lights to add to our tree.
Advent calendar is almost ready.
I decided to add little verses from the bible and matching clip art to go with it along with some homemade chocolates. I laminated them for durability, created a pin hole to thread into for tree hanging.
You can find the printable for both here:


Comments